Description
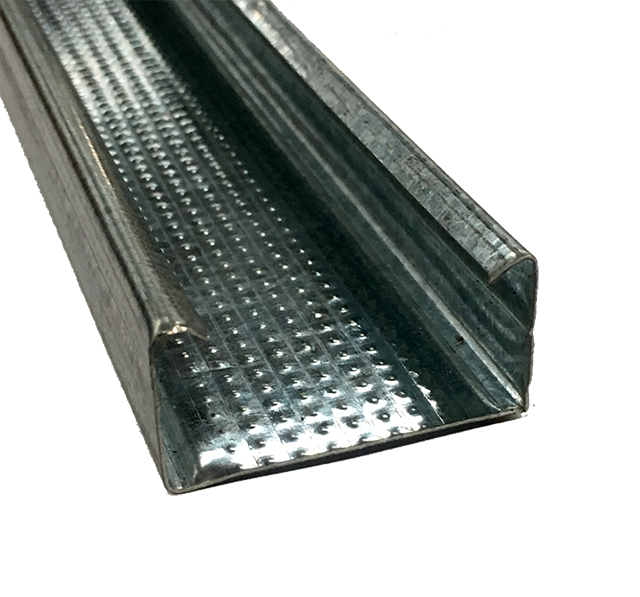
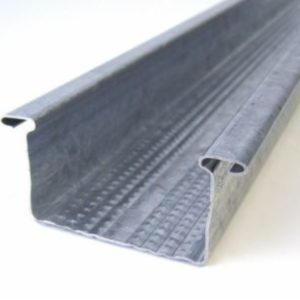
Domestic Ceiling Battens 16mm * 4800mm
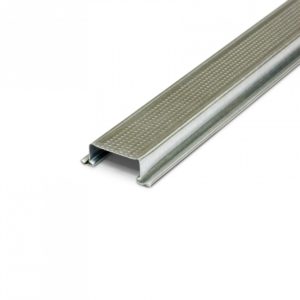
Our Ceiling Batten is 16mm high x 36mm wide, has a base metal thickness of 0.55 and is available in standard lengths of 4800mm and 6000mm.
16mm Domestic Battens is typically used for domestic applications in the southern states, mainly New South Wales and Victoria.
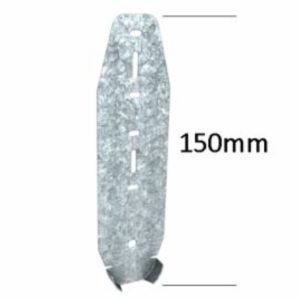
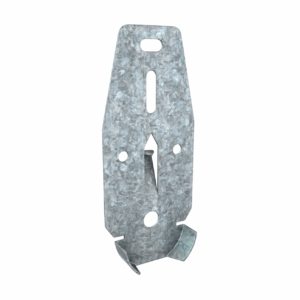
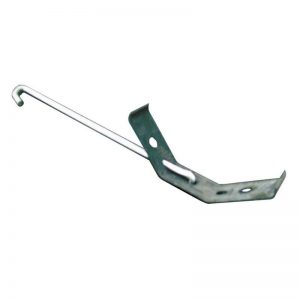
To accommodate the use of timber “I” beams, the 314 or 304 Direct Fixing Clip has been designed with two extra nail or screw slots placed lower down on the clip, with an additional temporary tab to assist installation.
What’s the difference between ceiling battens and furring channels?
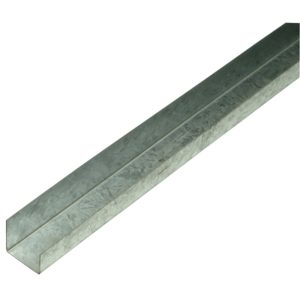
A bit of trivia: one of the questions that often gets asked (and rarely gets answered) is what the difference is between these two things. In a nutshell, a steel furring channel is much stronger, and is what’s normally used in commercial construction. Furring channels are sometimes called ‘top hat channels’ because if you look at them from the ends, they’re the shape of a top hat. As well as ceiling battens, furring channels can also be used to attach plasterboard to walls. Ceiling battens, on the other hand, are normally only used for ceilings, and only in residential construction. Ceiling battens can be made of either steel or timber – but steel’s normally preferred because it’s straighter. In most cases, your plasterer should use the systems and methods that are recommended by the plasterboard manufacturer. The furring channels or ceiling battens are attached to the underside of the ceiling joists (using fixing clips in the case of furring channels), so that they run at right angles to the joists. The spacing between them will depend on the type of plasterboard being used. Once the battens or furring channels are up, the plasterboard is hoisted using a special ‘sheet lift’ (or by hand using scaffolding) and screwed or nailed directly into the channels at set spaces so that the fixings are flush with the surface of the plasterboard. When that’s done, the edges are finished with paper tape and plaster cement base and topping coats as they were for the corners of the walls. You can buy ceiling battens in our Melbourne shop. Price for our metal battens is cheaper than in other shops. Domestic battens is the right choice to make a levelled ceiling.
Installation Manual
Direct Fix Domestic Ceiling Battens Installation Guide PDF
Here’s a step-by-step direct fix installation guide for domestic ceiling battens:
Tools and Materials Needed:
- Tape measure
- Pencil
- Laser Level
- Chock line
- 41mm Screws if direct fixing or 25mm if using clips
- Screwdriver or drill bit
- Ladder or scaffolding
- Ceiling battens
- Stud finder (optional)
- 314 or 304 ceiling battens clips
Step 1: Preparation
- Ensure that you have all the necessary tools and materials.
- Clear the area where the ceiling battens will be installed, removing any furniture or obstacles.
Step 2: Measurement and Marking
- Measure the length and width of the ceiling area where the battens will be installed.
- Use a tape measure and pencil/chalk line to mark the desired spacing between the battens. The spacing typically ranges from 450mm to 600mm centers apart, depending on the size and weight of the ceiling plasterboard you plan to install.
- Double-check your measurements and make any necessary adjustments.
Step 3: Locating Ceiling Joists
- If your ceiling has visible joists, you can skip this step. Otherwise, you’ll need to use a stud finder to locate the ceiling joists.
- Run the stud finder along the ceiling surface, following the manufacturer’s instructions, until it indicates the presence of a joist. Mark the location of each joist with a pencil.
Step 3A: If using batten clips to level ceiling
- Fix the laser to one of the corner of the room
- Find the lowest joist and attach first clip to that joist on desirable height.
- Adjust the level to the bottom of that clips
- Start at one end of the room and position the second clip along the marked line or the first joist line and match the fixing height with the laser line
- Secure rest of the clips on every joins needed along marked lines on the same laser level line.
- Click on ceiling battens to the lines of the batten clips you fixed before.
Step 4: Installing the First Batten
- Start at one end of the room and position the first batten along the marked line or the first joist line.
- Use a level to ensure the batten is straight and adjust if necessary.
- Screw through the batten into the joists using a 41mm screws.
- Secure the batten to the joists by driving screws through the middle of the batten. Repeat this process for the remaining joists along the length of the batten.
Step 5: Installing the Remaining Battens
- Measure the desired spacing between battens and mark their positions along the joist lines.
- Repeat the process of positioning, leveling and securing the ceiling battens for each marked position.
- Ensure that each batten is level and securely attached to the joists.
Step 6: Finishing Up
- Once all the ceiling battens are installed, double-check their alignment and levelness.
- Remove any excess pencil marks or debris from the installation process.
- Your ceiling battens are now ready for the installation of ceiling panels, plasterboard, or other finishing materials.
Remember to consult any specific instructions provided by the manufacturer of the domestic ceiling battens you are using, as there may be slight variations in the installation process or recommended spacing. Safety is paramount, so use caution when working at heights and ensure you have proper support, such as a ladder or scaffolding, as needed.